
In this post we talk about the process of naming music video files so that they conform to the RockPeaks naming conventions. Typically, these files will come from your collection of Music DVDs, which when ripped, tend to have messy, cryptic filenames.
To help with the first stage of this process, the program “A Better Finder Rename” is used to speed up some of the more repetitive tasks. As the name indicates, it is a Mac-only program, so sorry Windows users. There is likely something similar in the Windows world, if anybody knows of anything, please post a comment below.
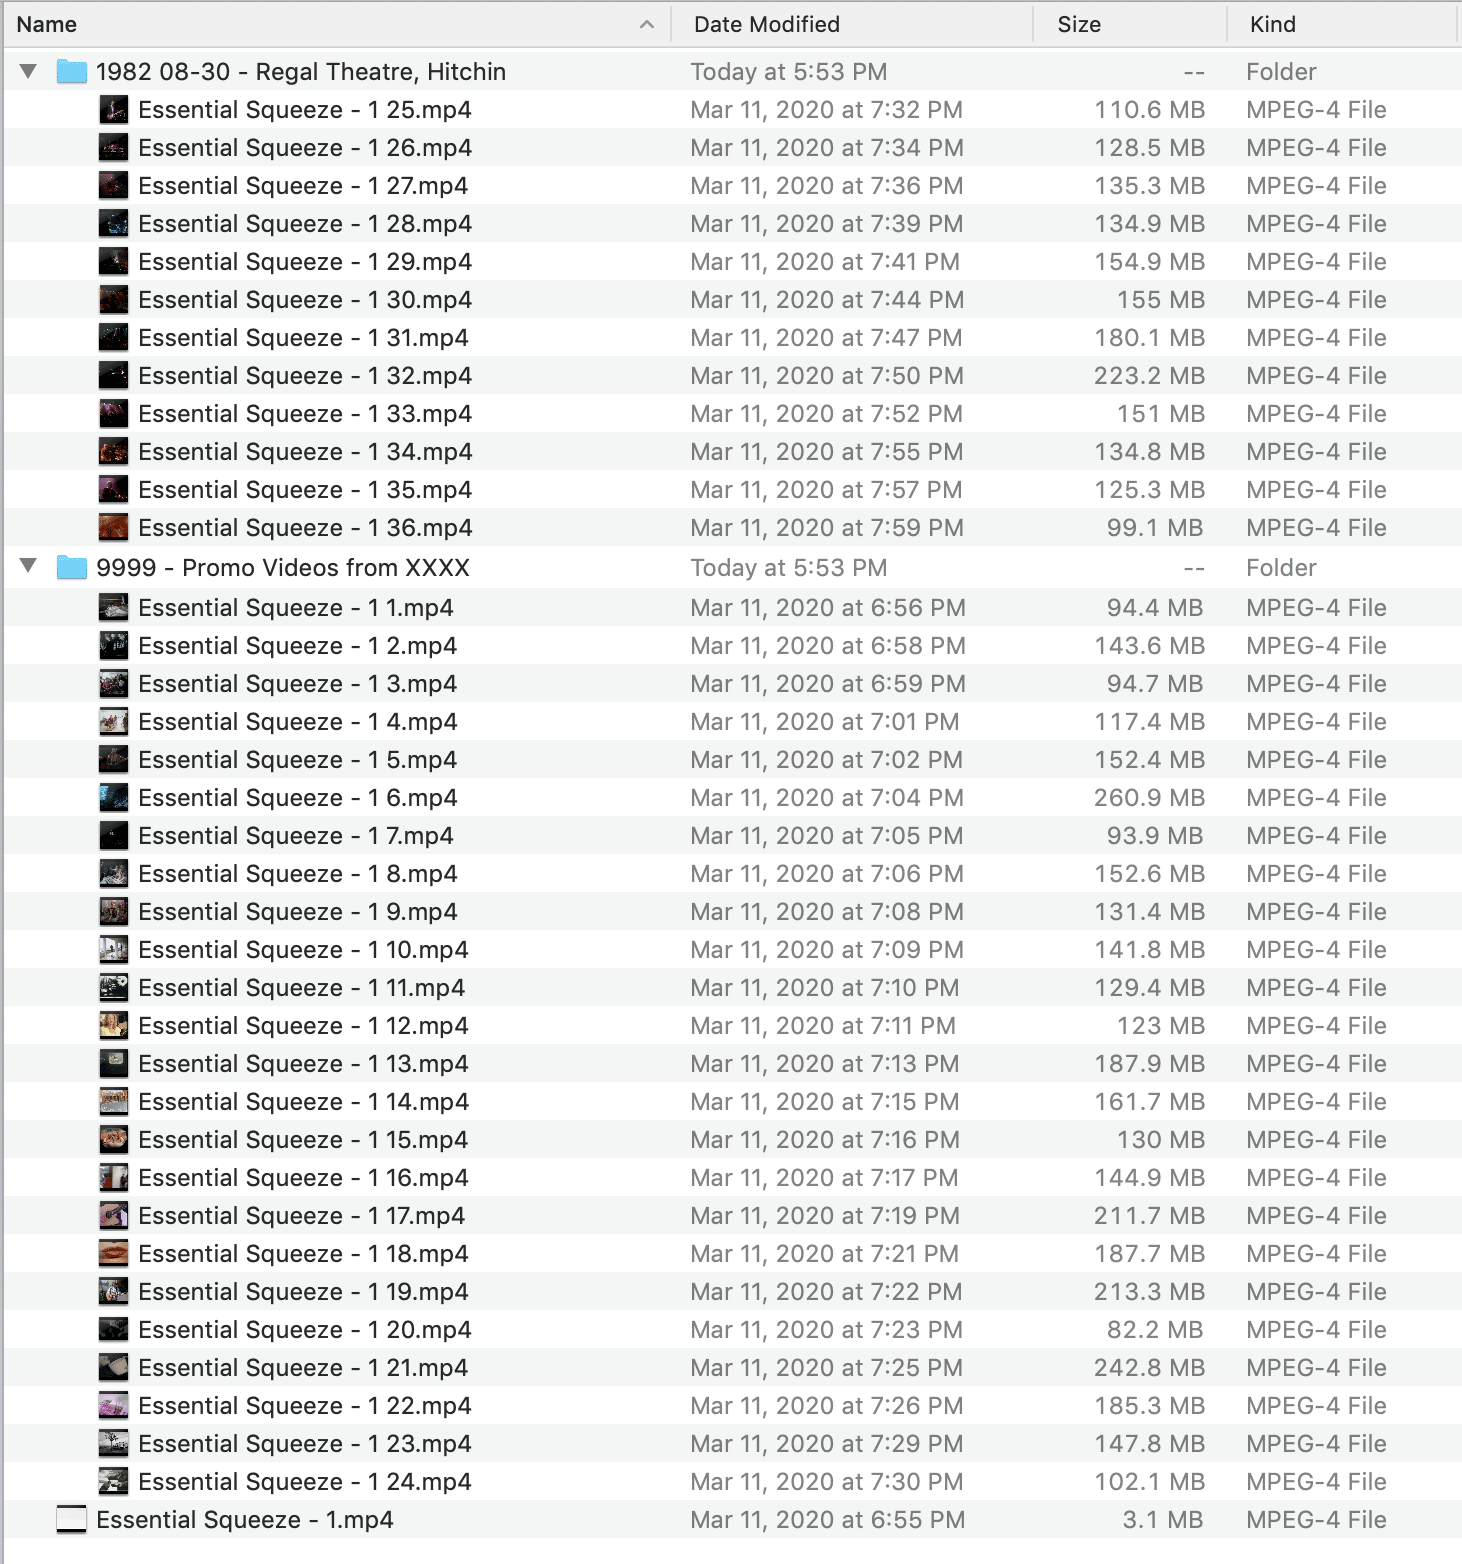
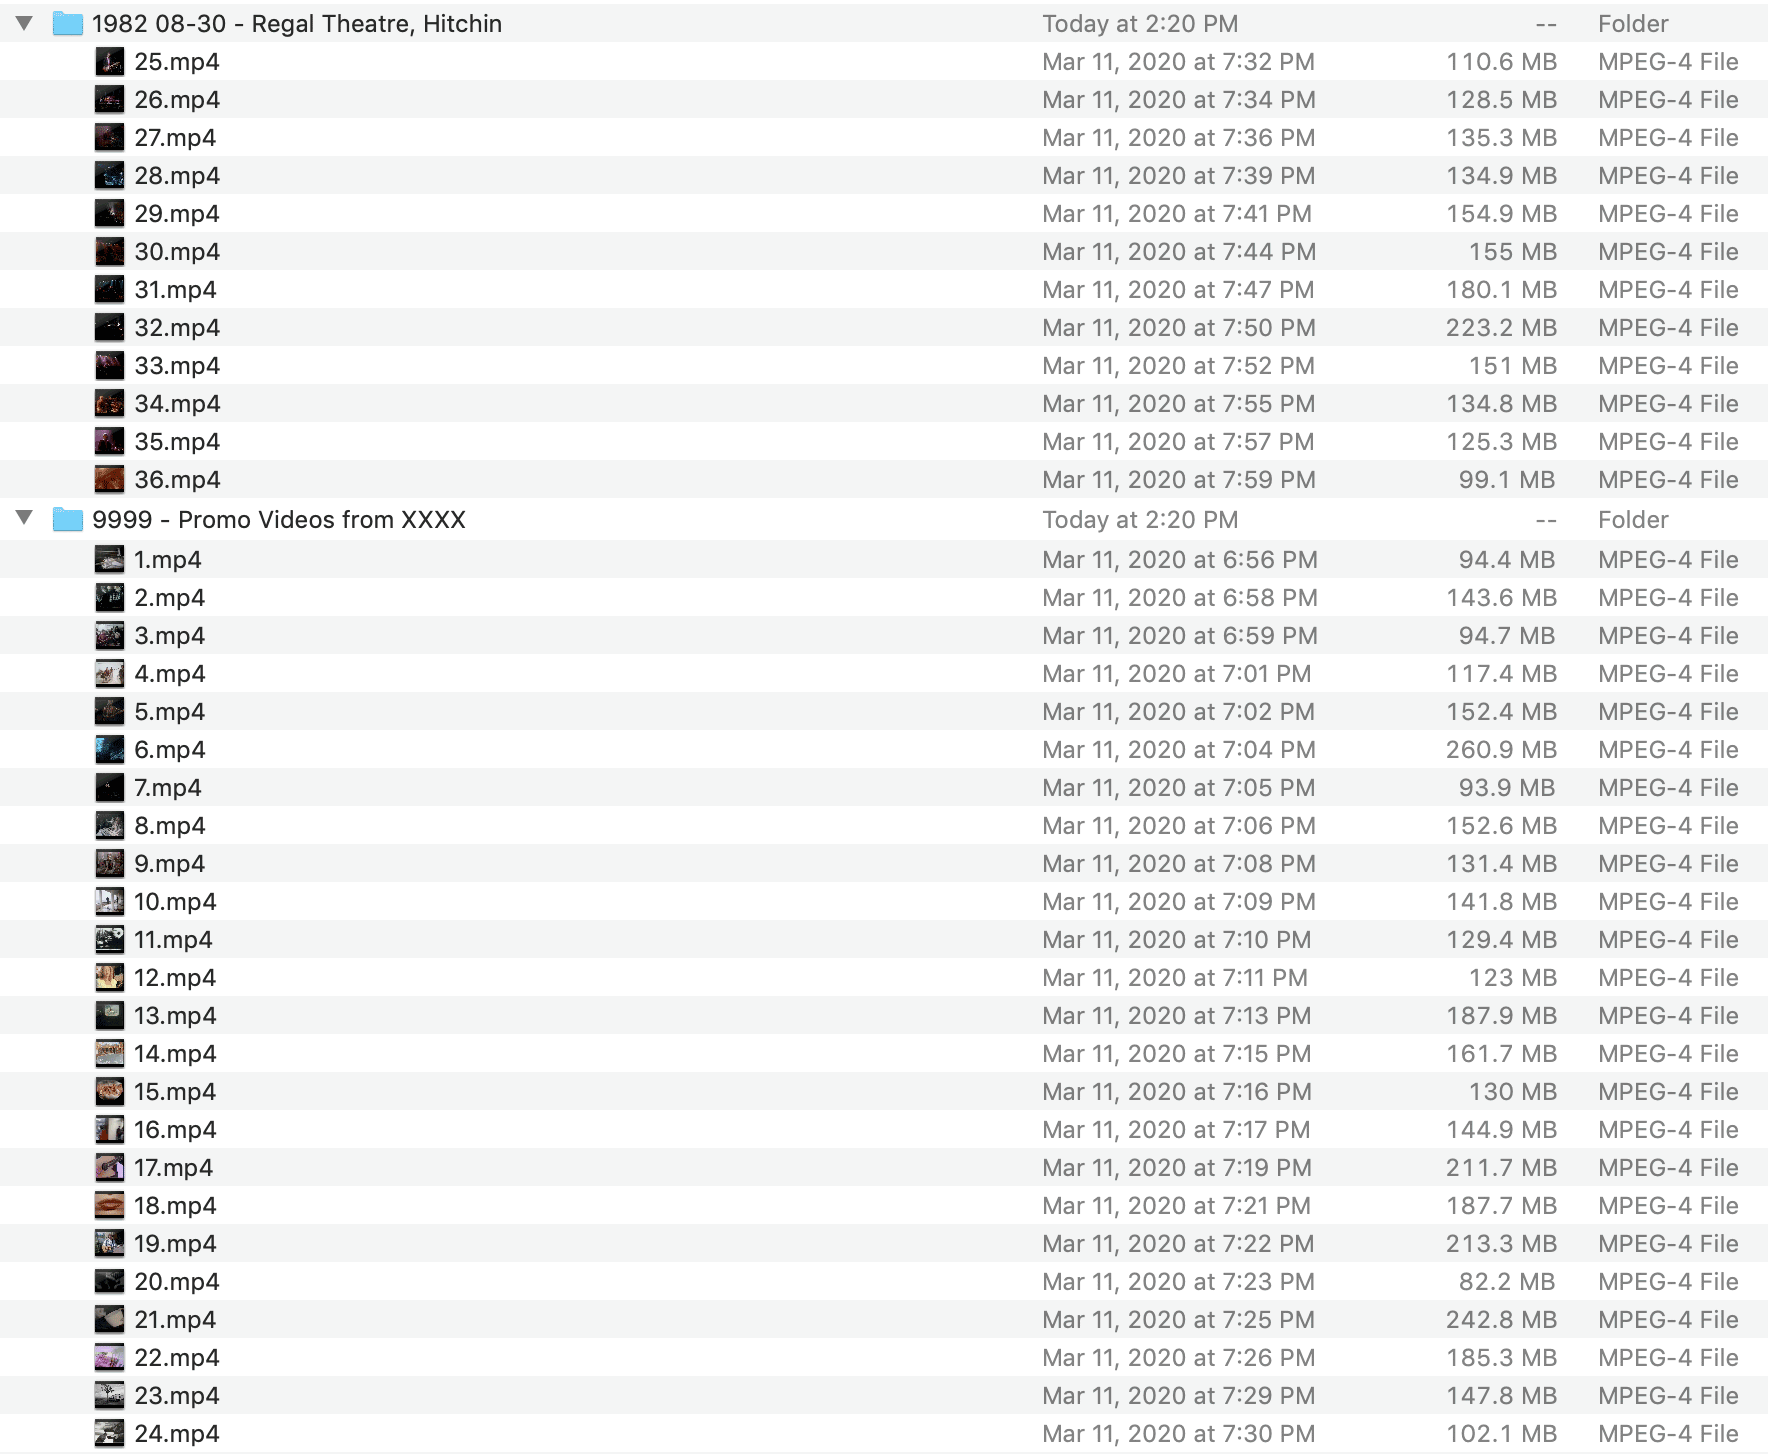
Here is an example of a commercial DVD that has been ripped into 37 chapters:

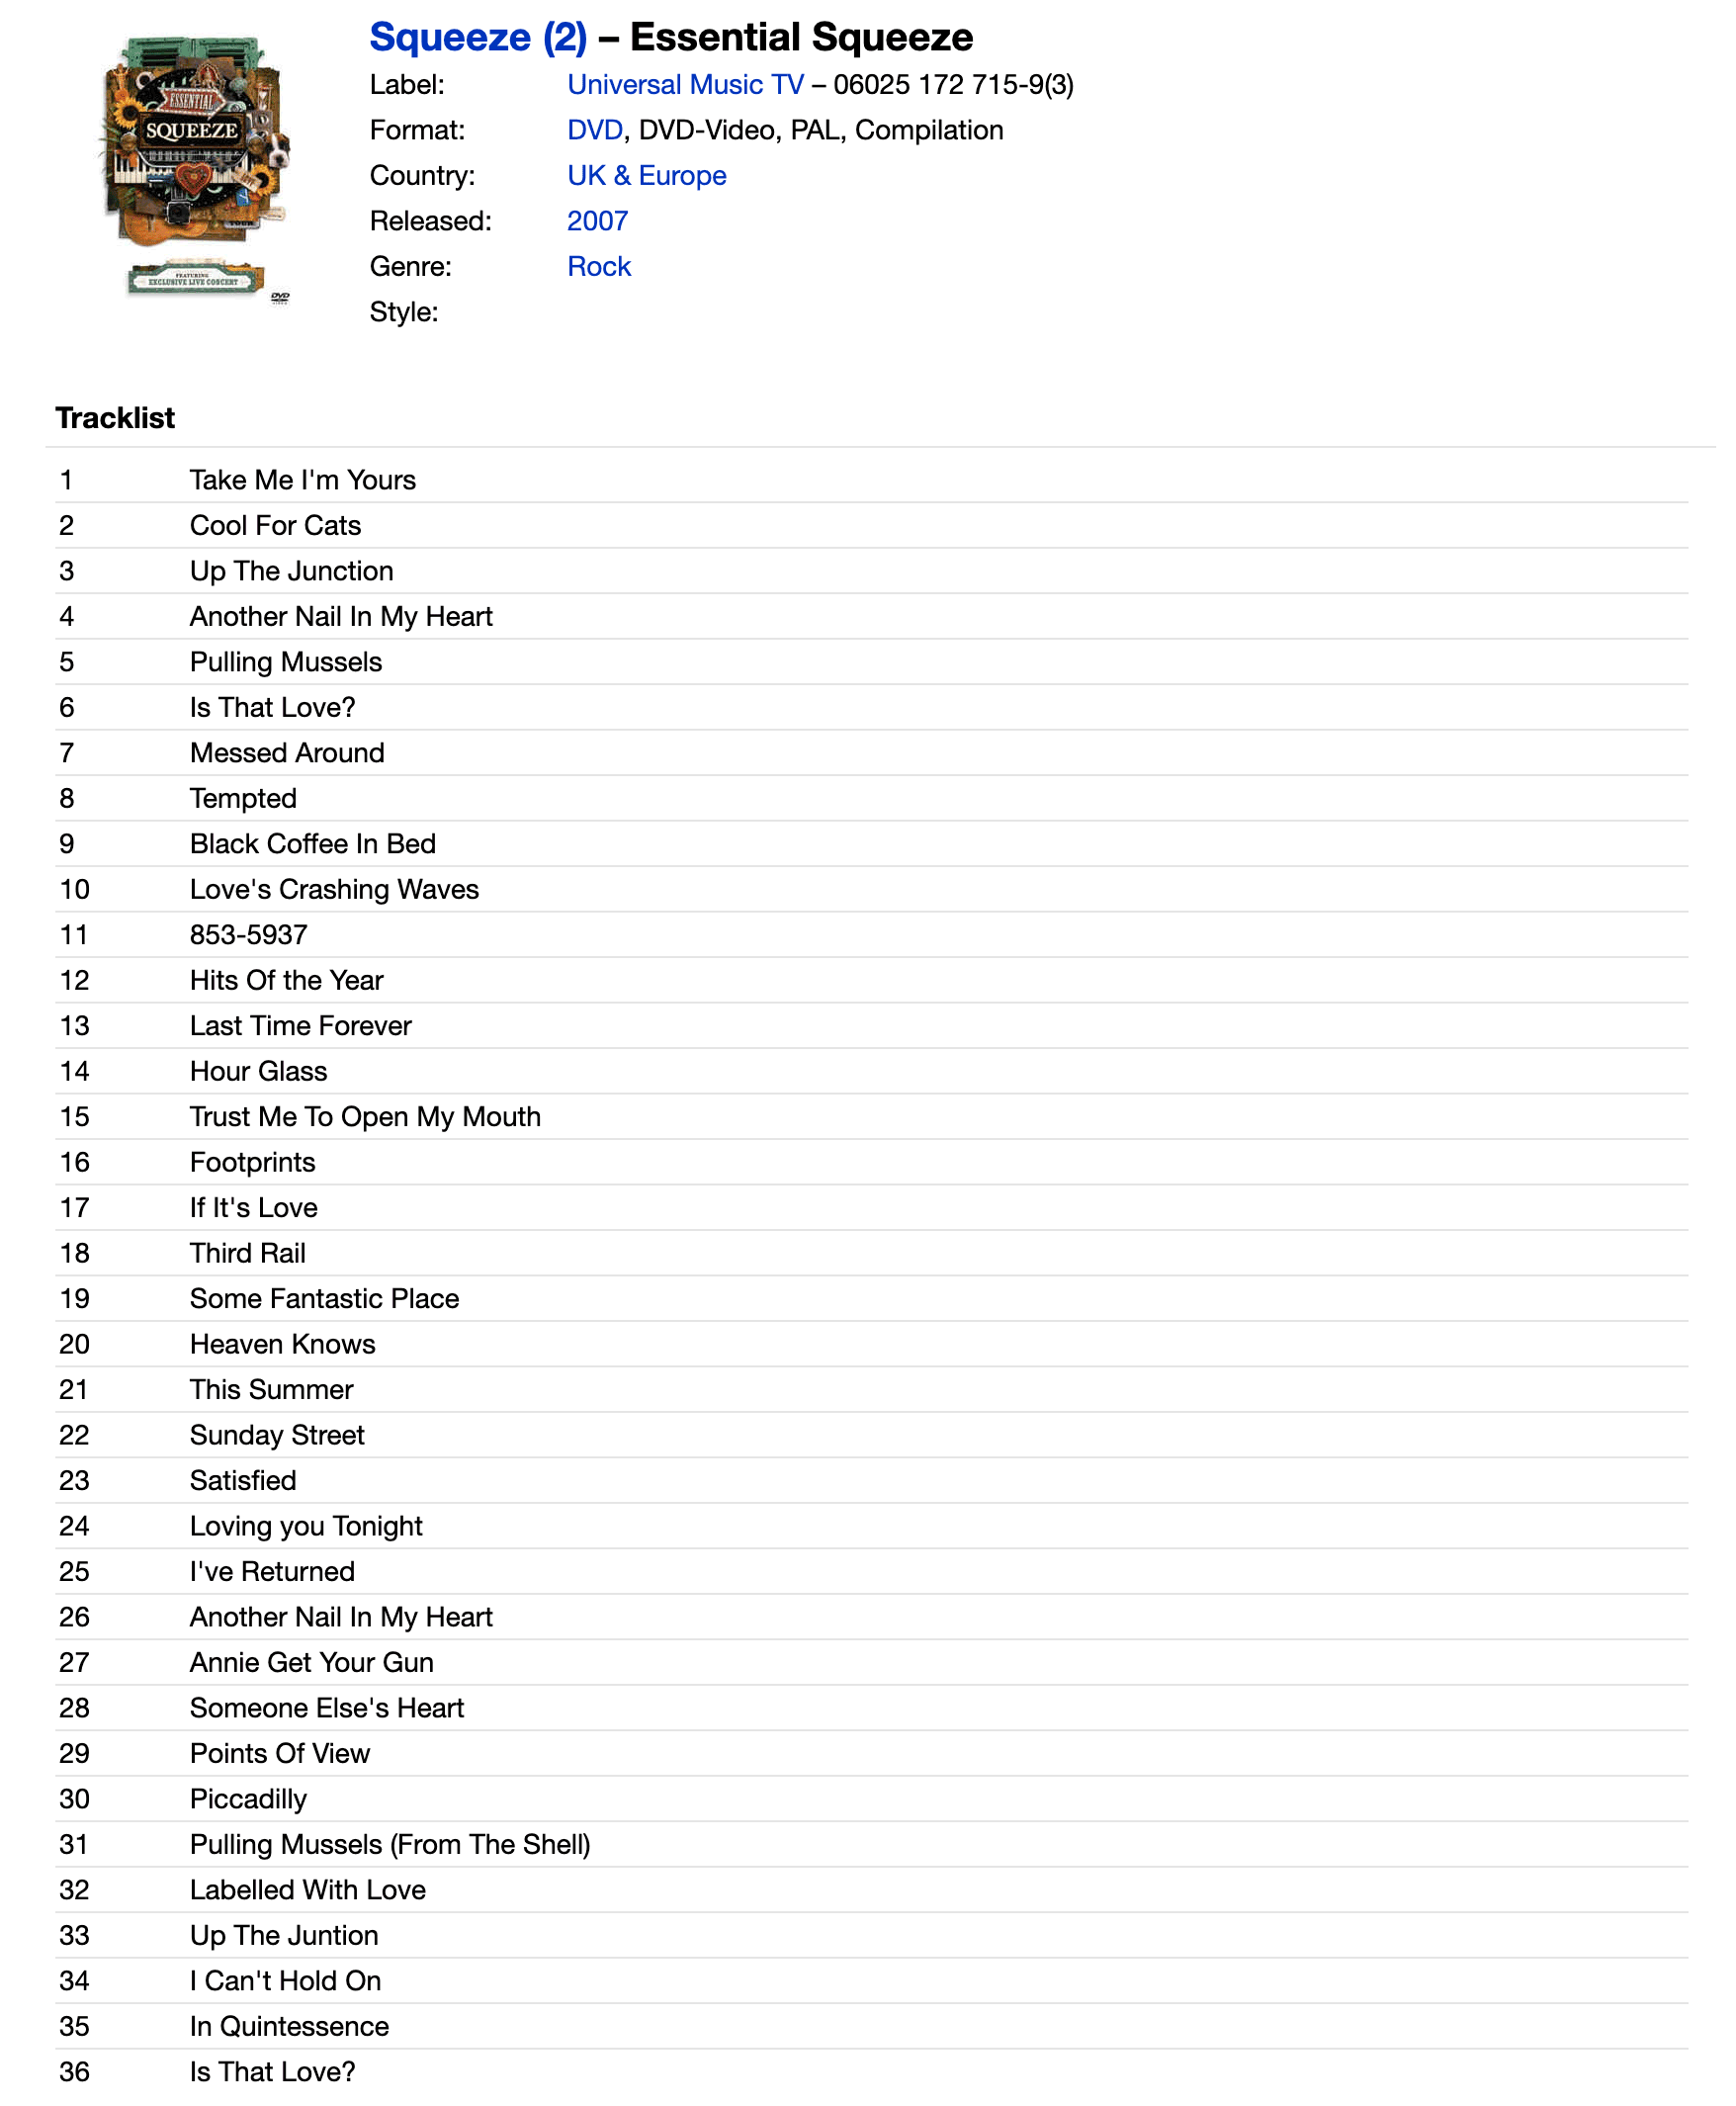
Here is the DVD jacket that lists the chapters:

You can see that there are 24 chapters in the first section and then 12 additional chapters for the “Live from The Regal Theatre 1982” section, for a total of 36.
It is useful to have this jacket information digitally, in order to quickly cut and paste titles. Very often there will be a Wikipedia page for a commercial DVD such as this, or a page on the Discogs website.
Sure enough, there is a page on Discogs here: Squeeze - Essential Squeeze (2007, DVD) | Discogs
When you find a page with a full track-listing like this, keep it open in a browser tab so you can refer to it during the rest of the process. It might also be helpful to copy the tracklisting into a text file that you can cut and paster from later, and which you can save in the same folder as the files, calling it just info.txt or something similar.
Looking again at the list of ripped chapters, we can see that the very first chapter, which appears at the bottom of the list due to the way the files were named, is only 3.1 MB is size, and is very likely just a logo animation or main title sequence for the disc, which indeed it is, as we can see when we open the file in VLC and play it back:
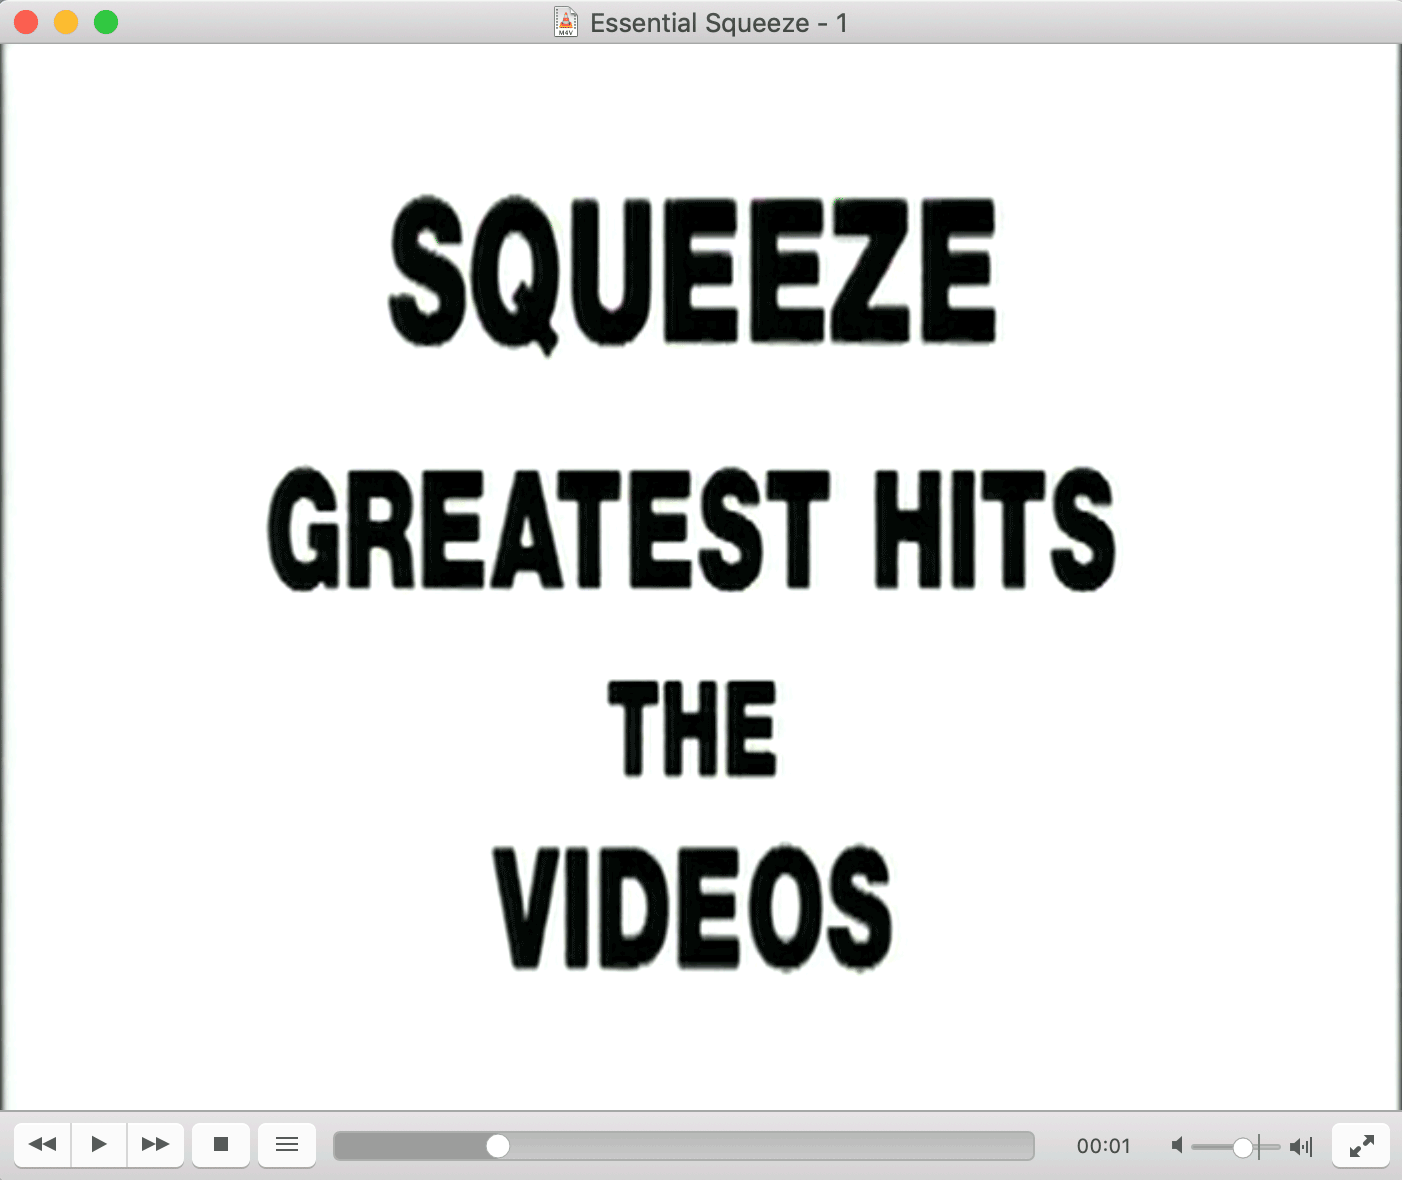
So that explains the discrepancy between 36 and 37 files. We generally don’t include these sorts of simple short silent titles on RockPeaks, unless they are obviously part of the full program, i.e. overlaid on picture with sound underneath. So we will just leave it aside as we proceed with the re-naming of the files.
First, it is important to preserve the order of the files, since that allows us to match them to their proper titles. The DVD ripping software has taken the name of the disc “Essential Squeeze” and then appended the chapter number after that.
As we know from the DVD jacket, there are two parts to this collection, a group of 24 promo videos and a group of 12 live performances. Most of the time the order on the jacket or artwork will match the order on the disc, but not always, so it is best to check by playing back a few clips and spot checking them against the track listing.
In this case, there is a title at the head of the promo videos, making it easy to confirm which track they are.

In other cases, you might have to watch a bit of the song and listen to the lyrics to determine the song or title. With promo videos, the program Shazam can be helpful in confirming titles, since the audio in those videos is typically the master recording of the song.
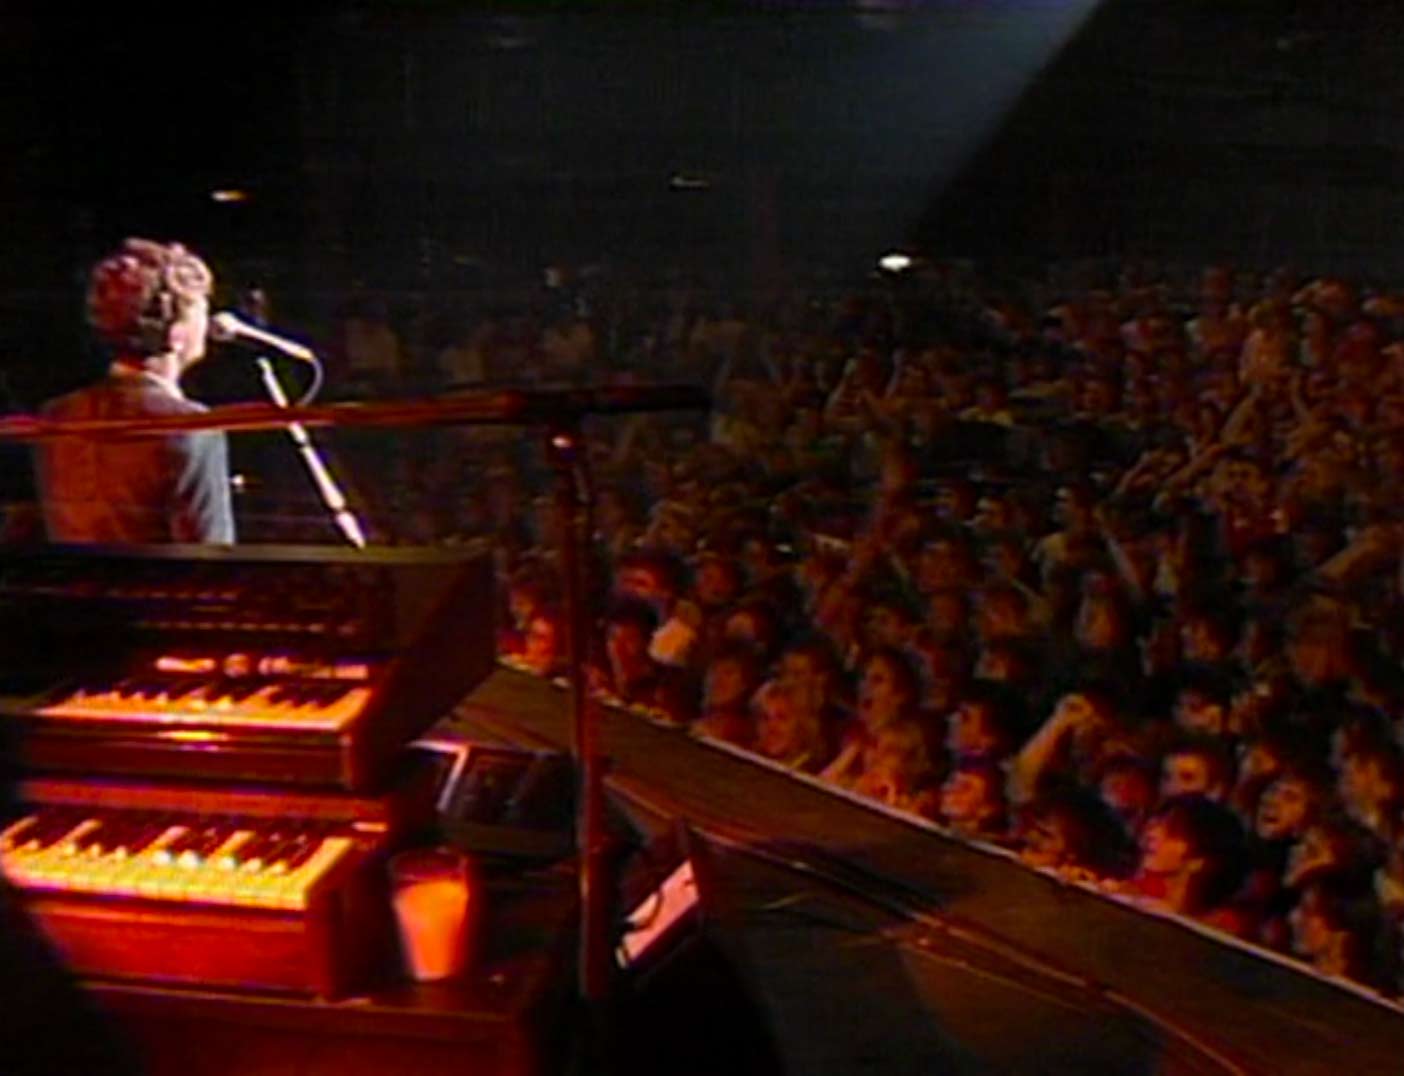
Let’s also confirm that the the live performance chapters start where they should, which would be file 25. Playing it back we see that it is indeed the first live clip:
So we can make two folders for these two groups now. When naming these folders, we should follow the naming conventions described in the “Match” tour, which describes how we group clips first in Artist folders, then in Show folders.
Show folders should follow the format Date – Show Name, i.e.
2011 09-20 - Late Show with David Letterman
Note the space after the year and the hyphen between the month and day – this makes the date easier to read. If the month and day are unknown, leave them off.
Promo Videos, as described over here, are grouped into shows representing the year that they were released, and are named like this:
2018 - Promo Videos from 2018
In the case of the Squeeze DVD, we have 24 promo videos that are more than likely from different years, and we will want to correctly determine which promos were released in which year, but at this point we can can just create a generic folder for them all, for the purposes of improving their naming:
9999 - Promo Videos from XXXX
For the live performance chapters, the artwork jacket gives us some information about the location and the date of this show – The Regal Theatre 1982 – but we need to flesh it out a bit more. We can start by doing a bit of Googling:
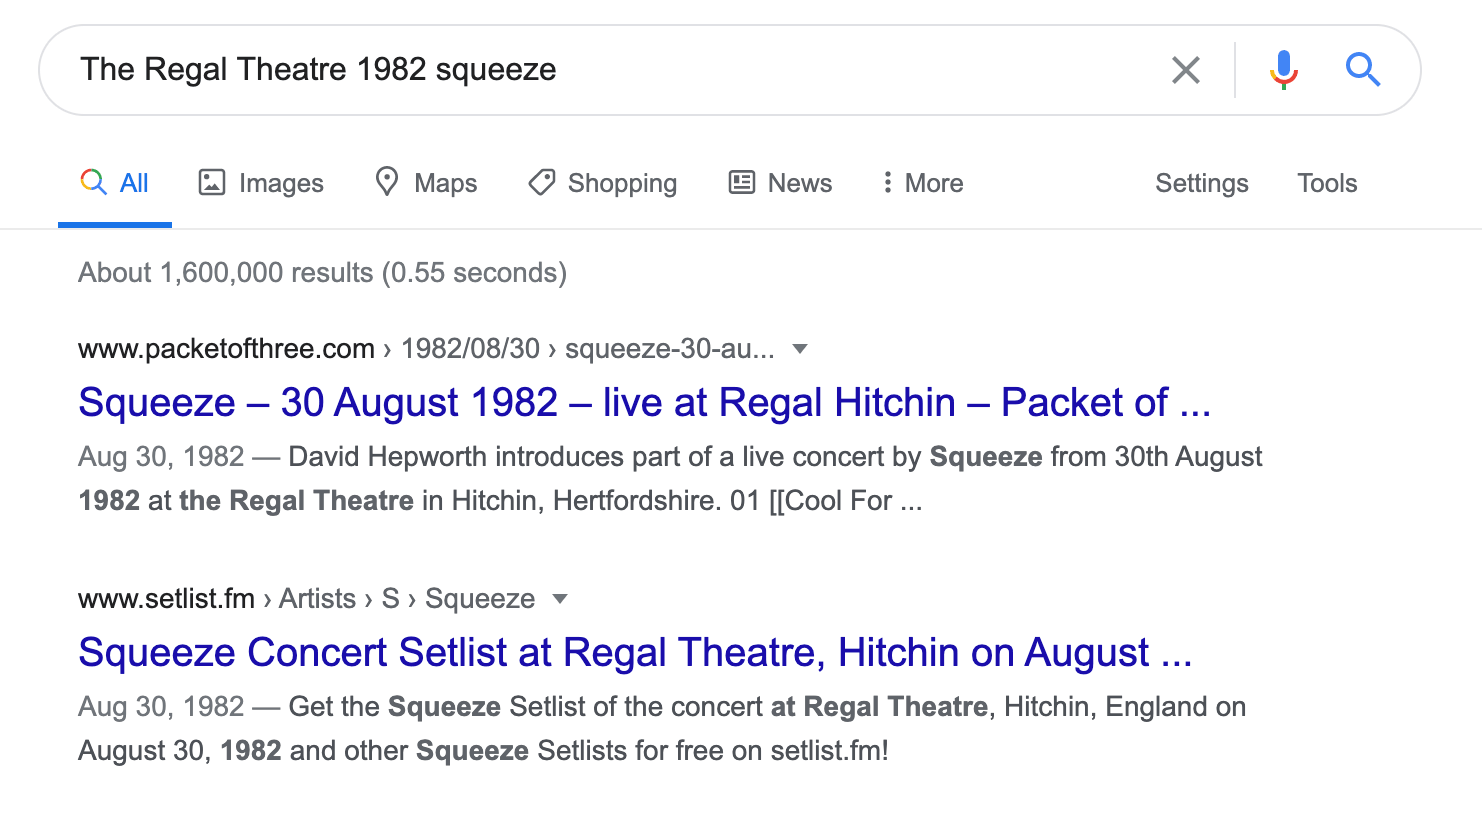
Great, we have the full date and the location of the Regal Theatre, so we can start to construct our folder name:
1982 08-30 - Regal Theatre
Thee are definitely multiple venues in the world called “Regal Theatre” At this point it would be helpful to do a search on RockPeaks to see if there is already a Show called “Regal Theatre”
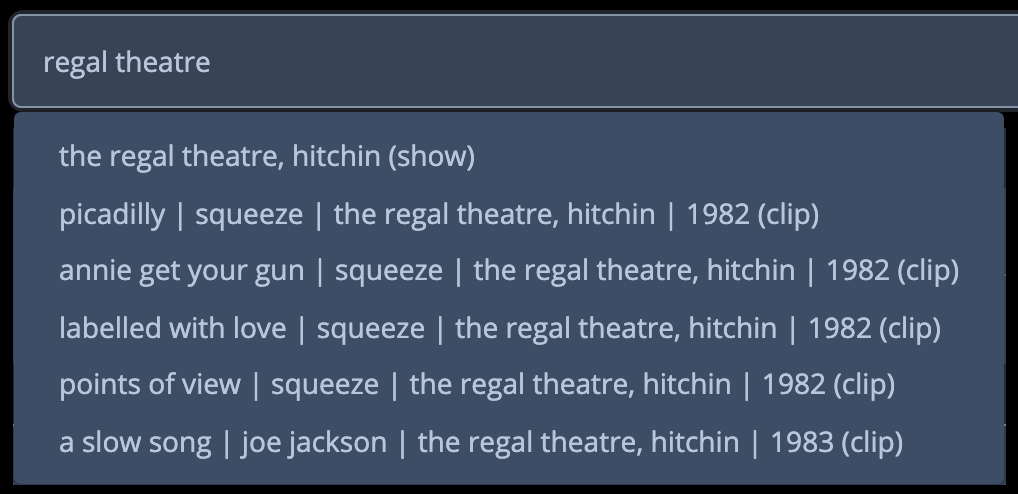
Great, there it is, and we can see that there are a few of the live performances already there:

So now we can add the word “Hitchin” to our show name, confident that it will be a match with what is found on RockPeaks. After adjusting our folders we move the files into their appropriate folders:
We are now ready to begin the renaming process. First, we want to reduce the current filenames down to a very simple form, getting rid of everything but the sequence numbers. This will make it easier to build them back up with the exact information we want.
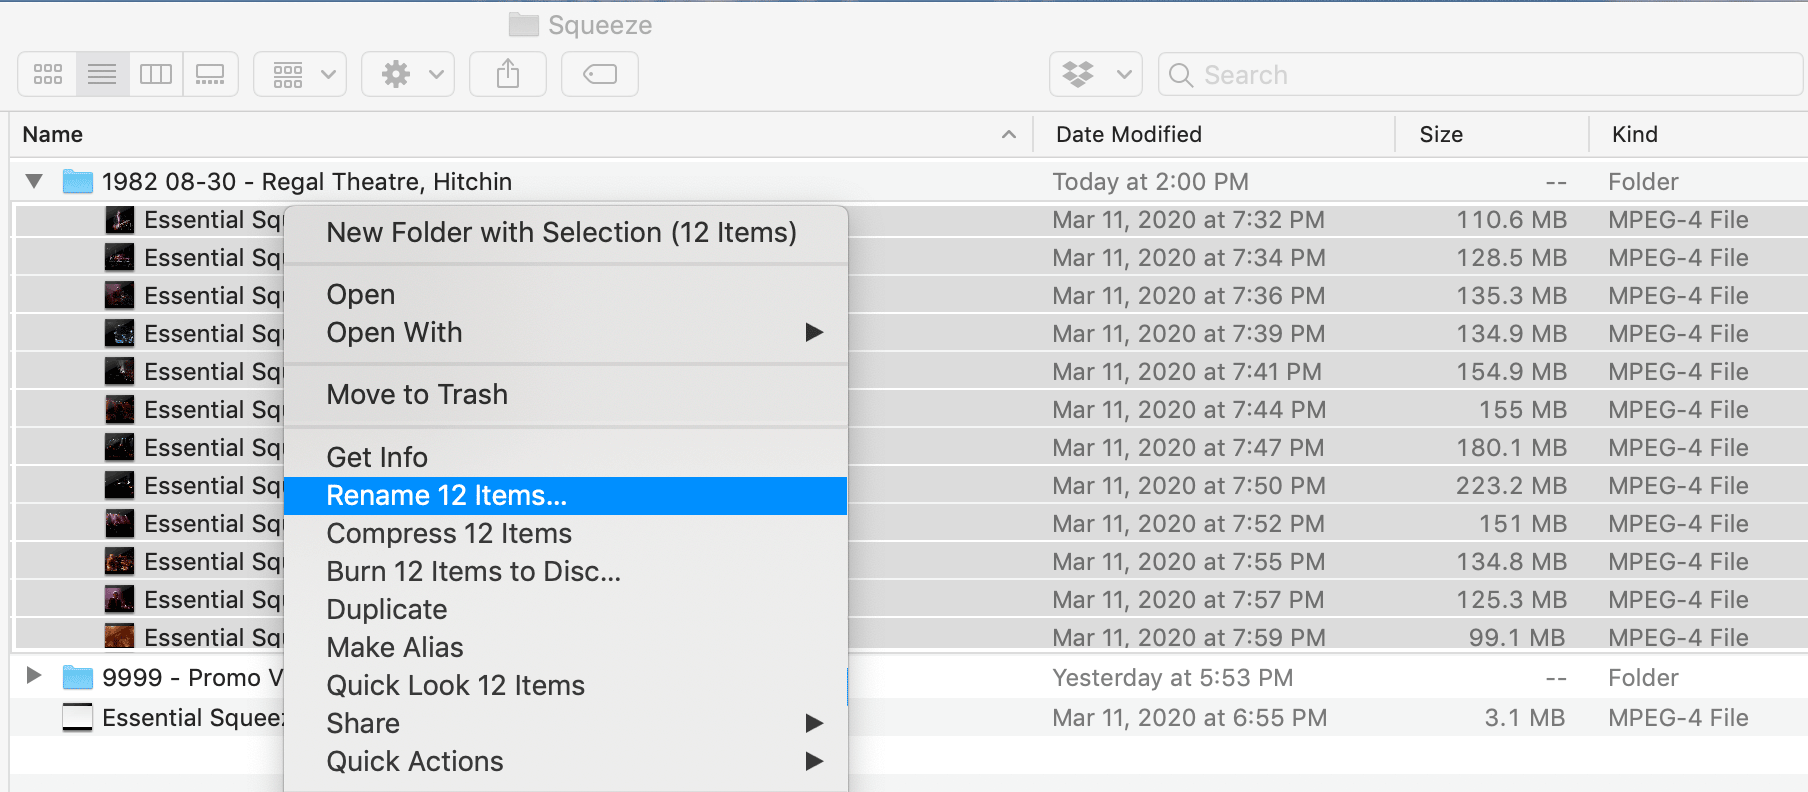
We can do this right in the Finder. Start by highlighting and copying the part of the filename you want to get rid of - - since you’ll be doing this as a batch, this string of text needs to be the same across all the files. In the example below, “Essential Squeeze - 1 ” is what we want, including the space character after the “1”.
With that in the paste buffer, shift click to highlight all the files in one of the folders and then right click on “Rename XX Items…”.
Paste the contents of your paste buffer into the field as shown, command + V
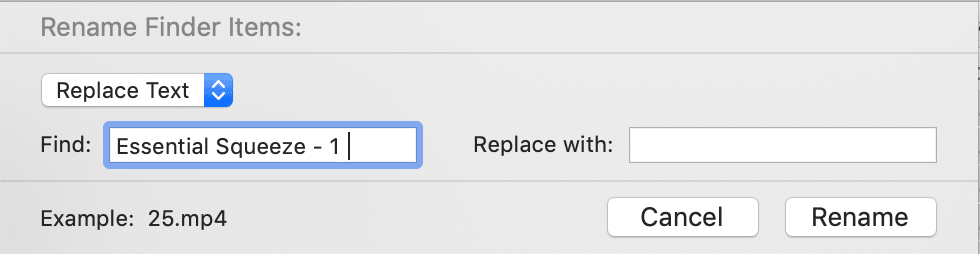
When you’re don you should see something like this:
Next, we are going to add our own double digit sequence numbers followed by a double hyphen, which is our standard delimiter. We’ll use A Better Finder Rename (ABFR) for this, along with these three preset files:
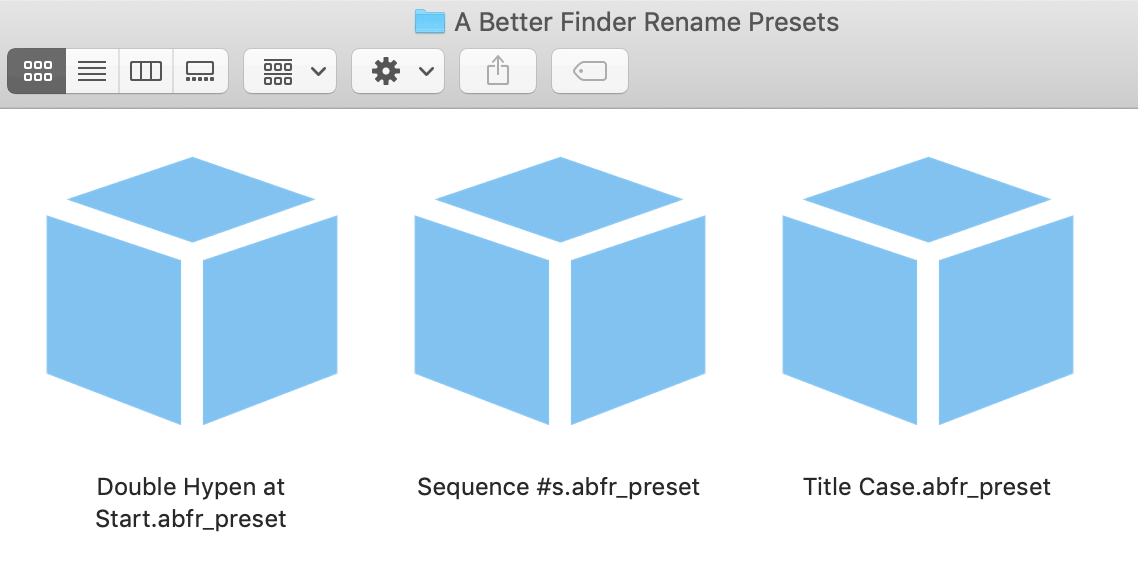
A Better Finder Rename Presets.zip (3.0 KB)
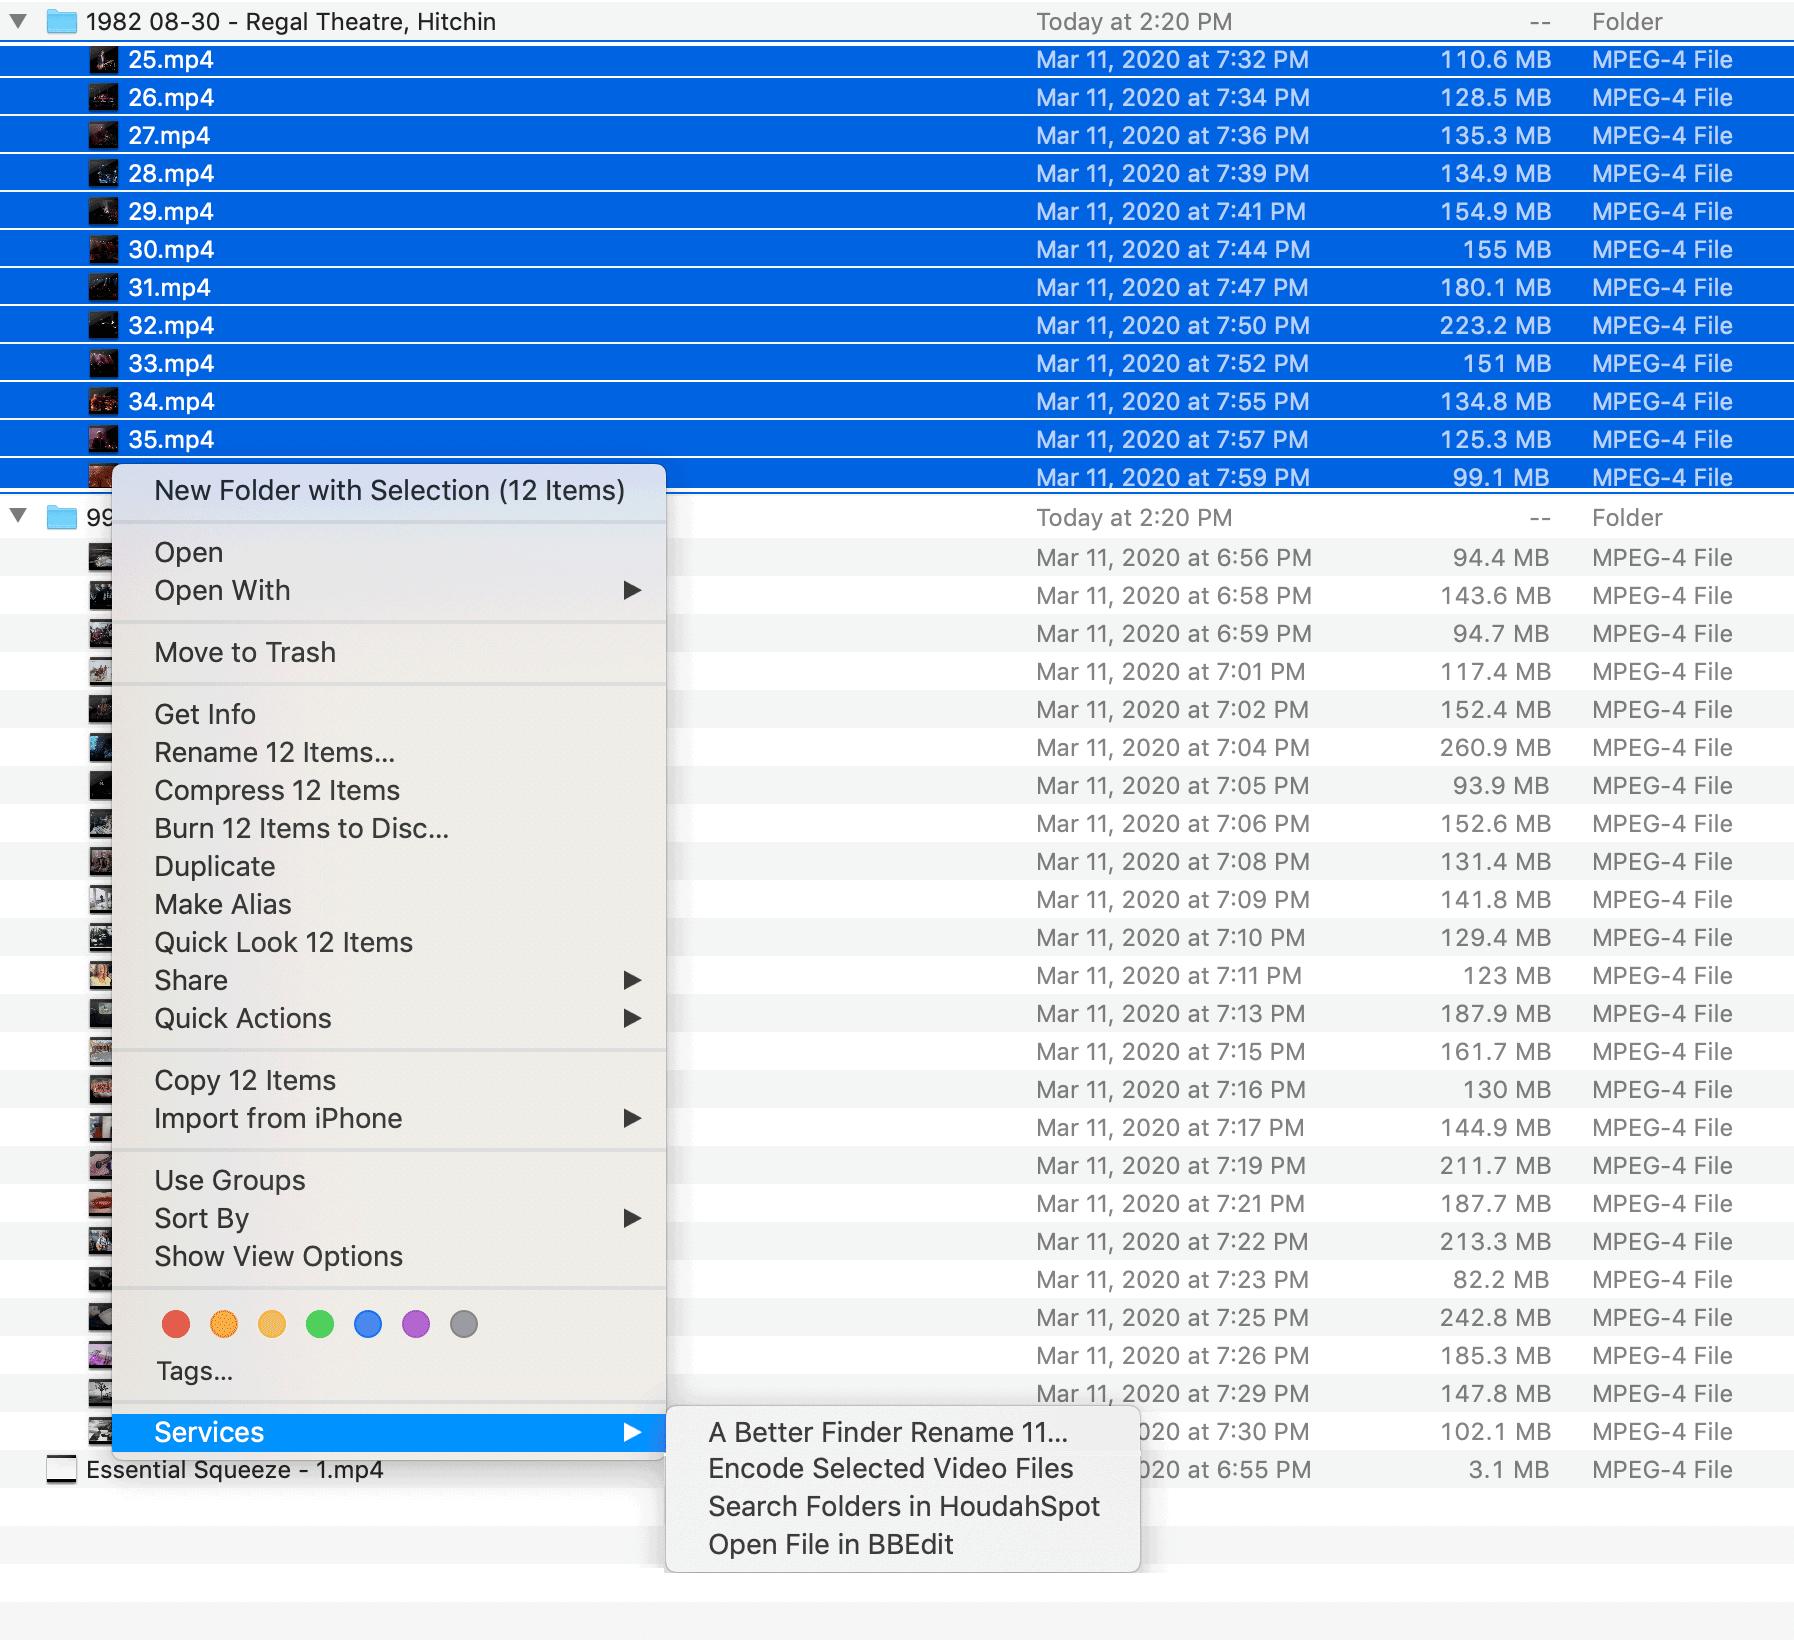
Once again, group select by shift clicking the set of files you want to rename and then right click, and look for “A Better Finder Rename” under the Services entry in the Context menu:
If you have installed the presets correctly, when you let go you should see an option to select a preset action. We’ll start by add the double hyphen:
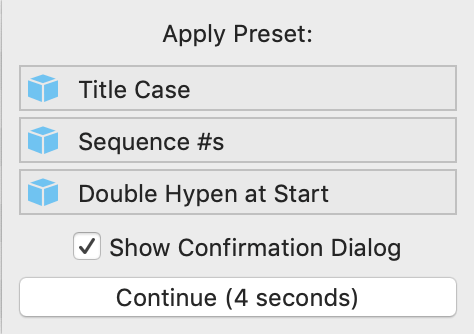
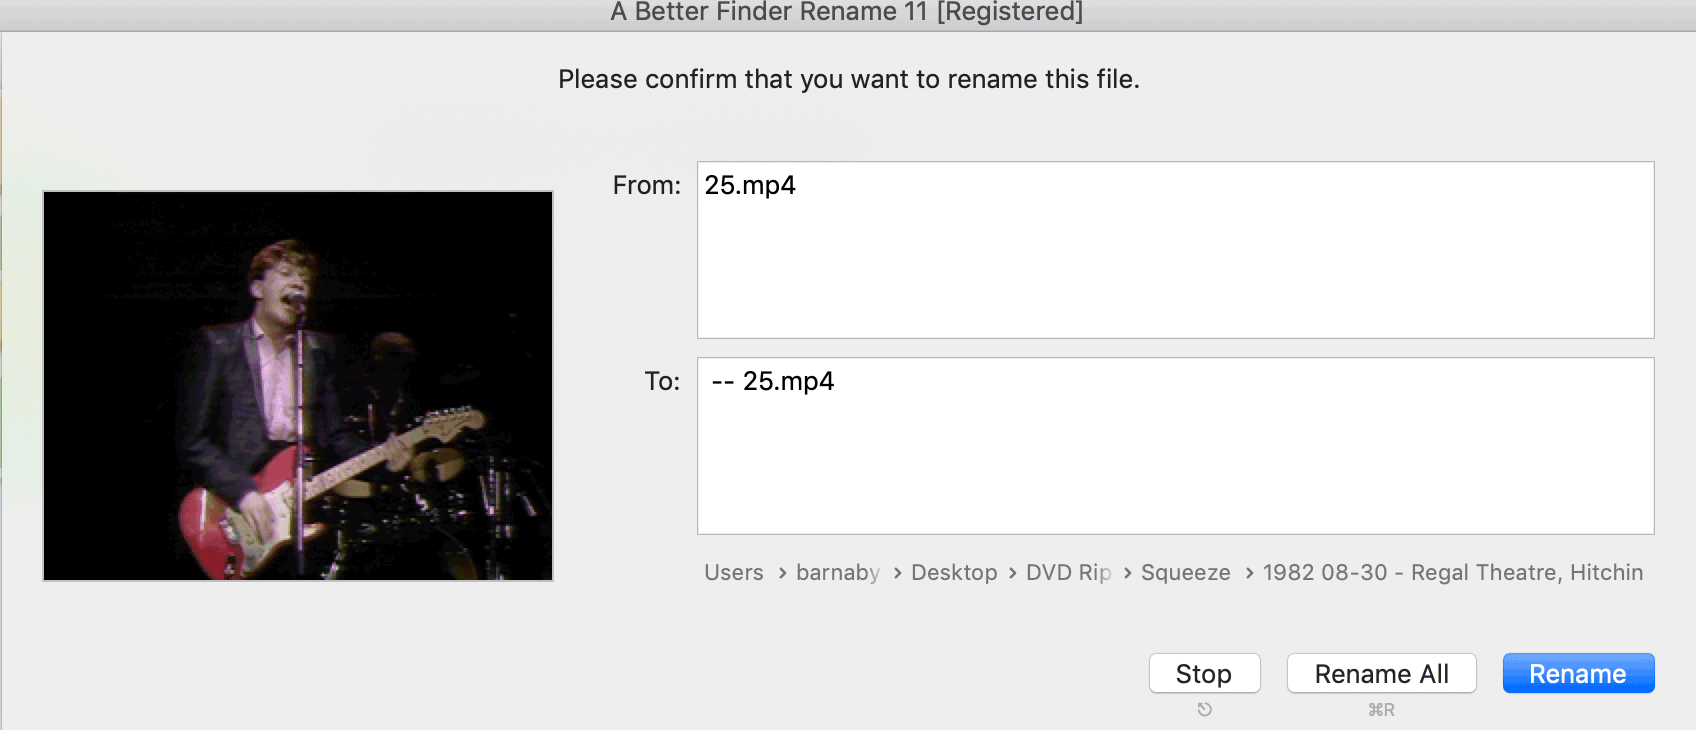
If you have the confirmation checkbox checked, you’ll see this dialog. If things look right, you can “Rename All”
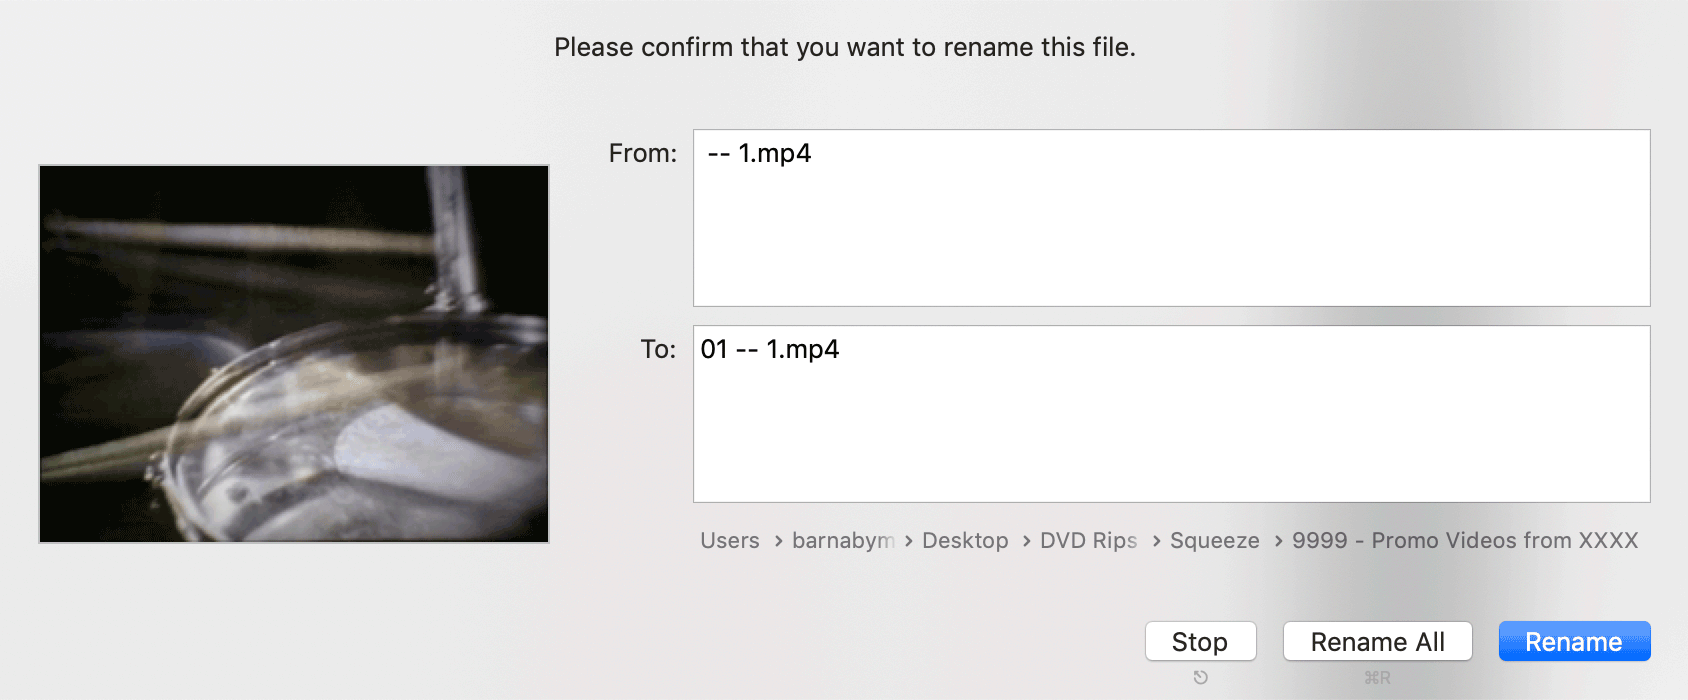
Next, you want to apply the “Sequence #s” preset. Again the confirmation dialog shows you what the output will be:
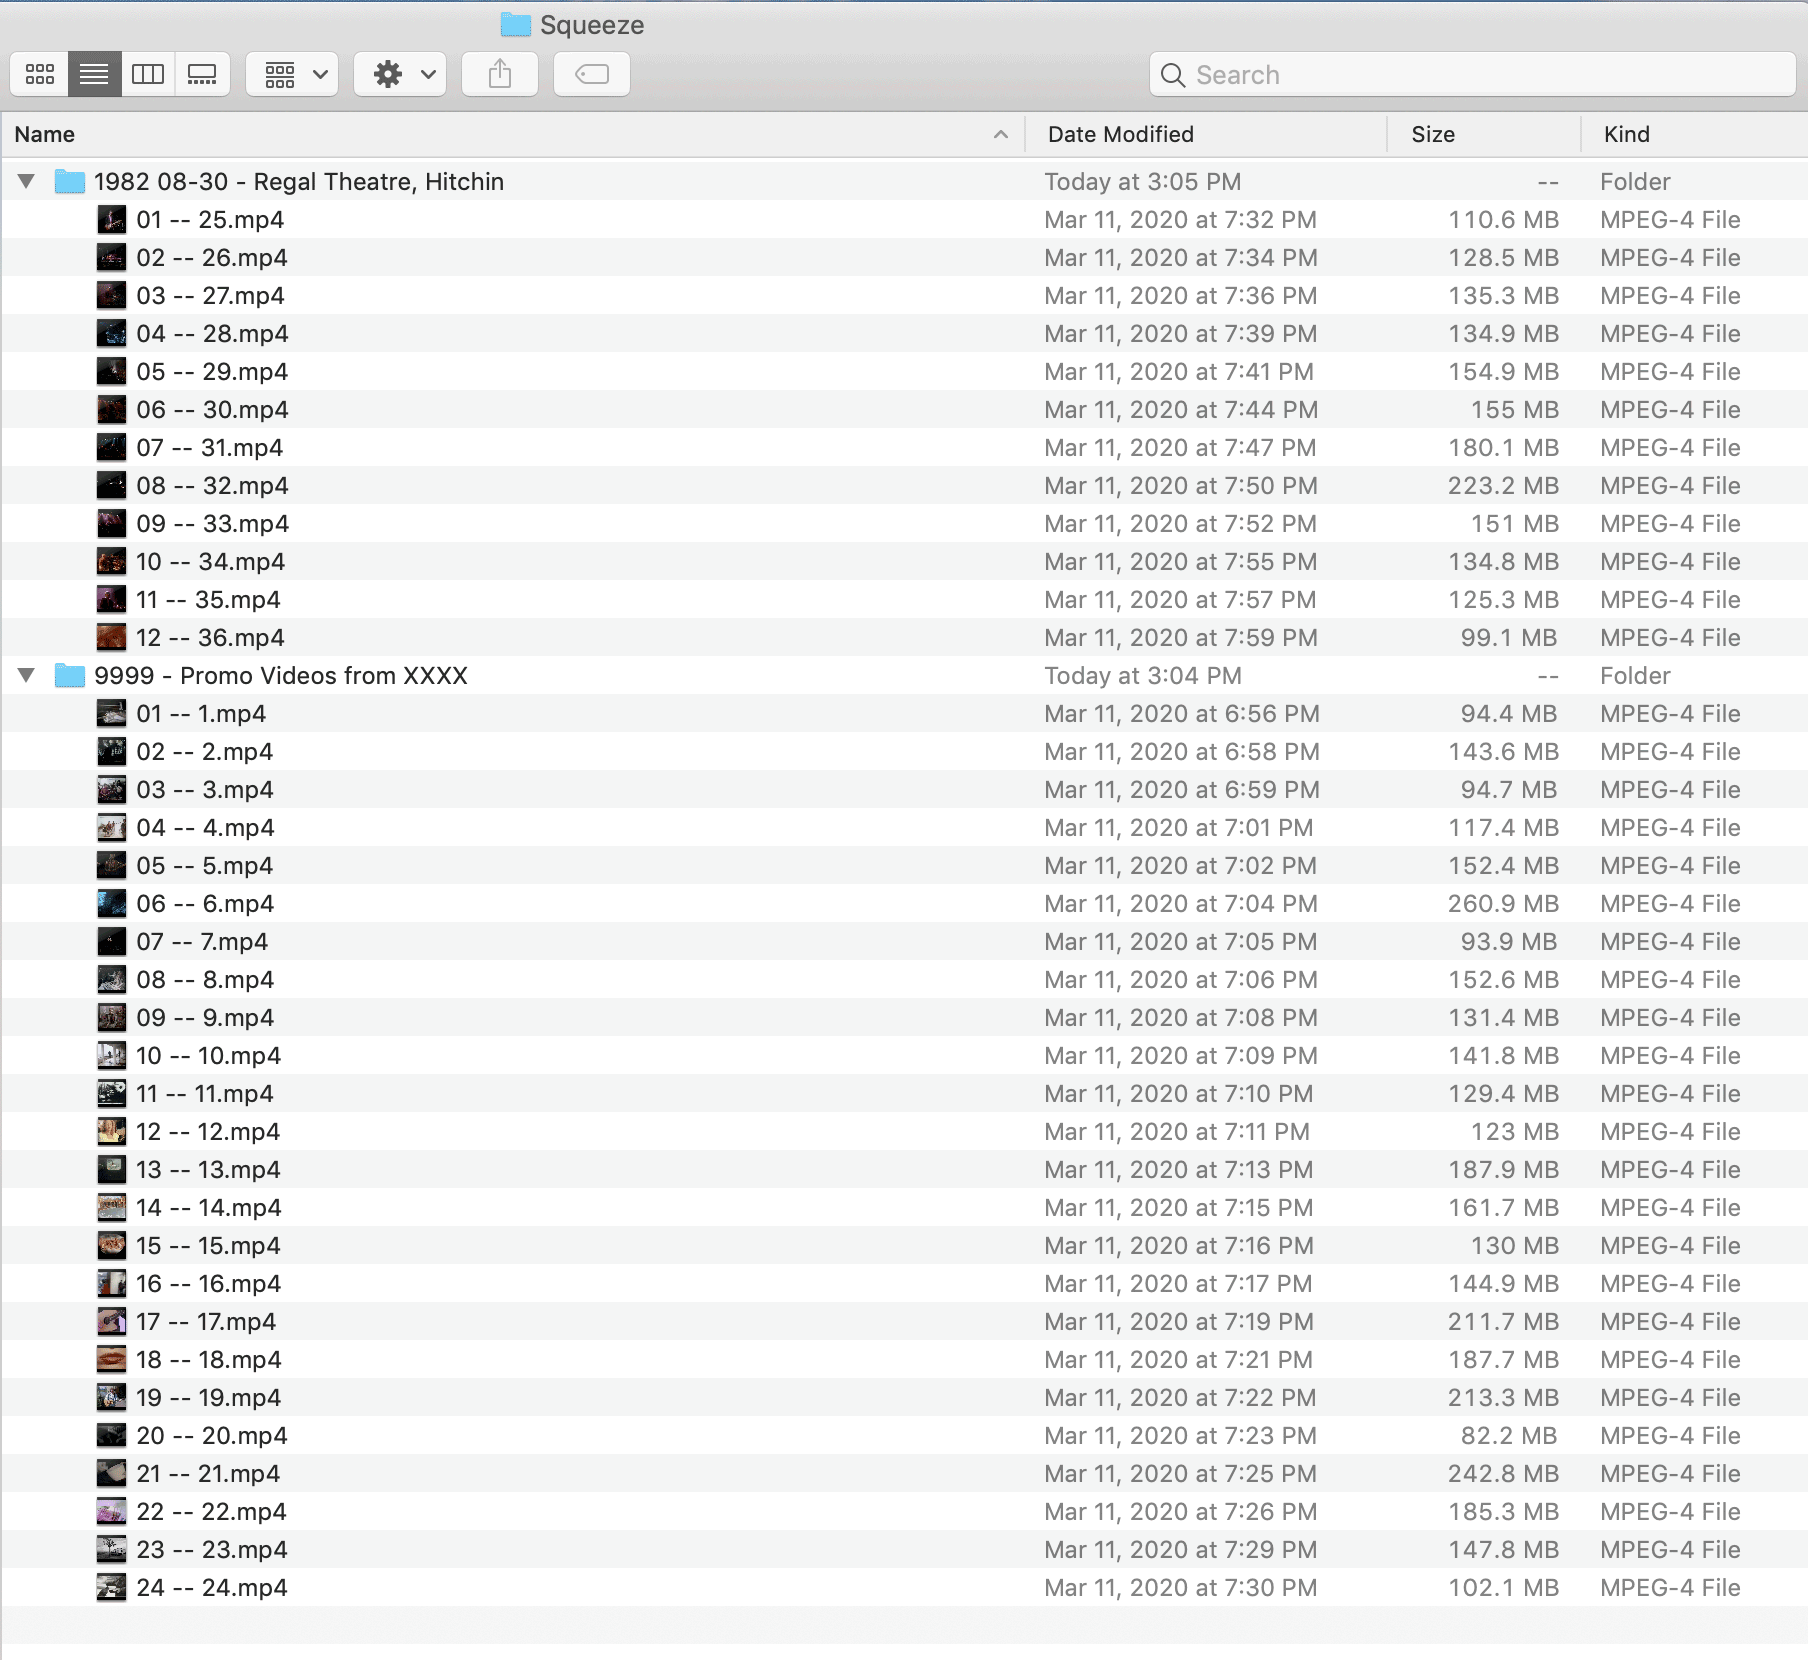
When you’re done, you should have something like this:
Next, we will use the Filebot program to perform batch renaming, a subject that is covered in this post.